Copyright giadaelesuenuvole.blogspot.it. Powered by Blogger.

giadalesuenuvole

Pagine

  • Chi sono
  • Privacy Policy

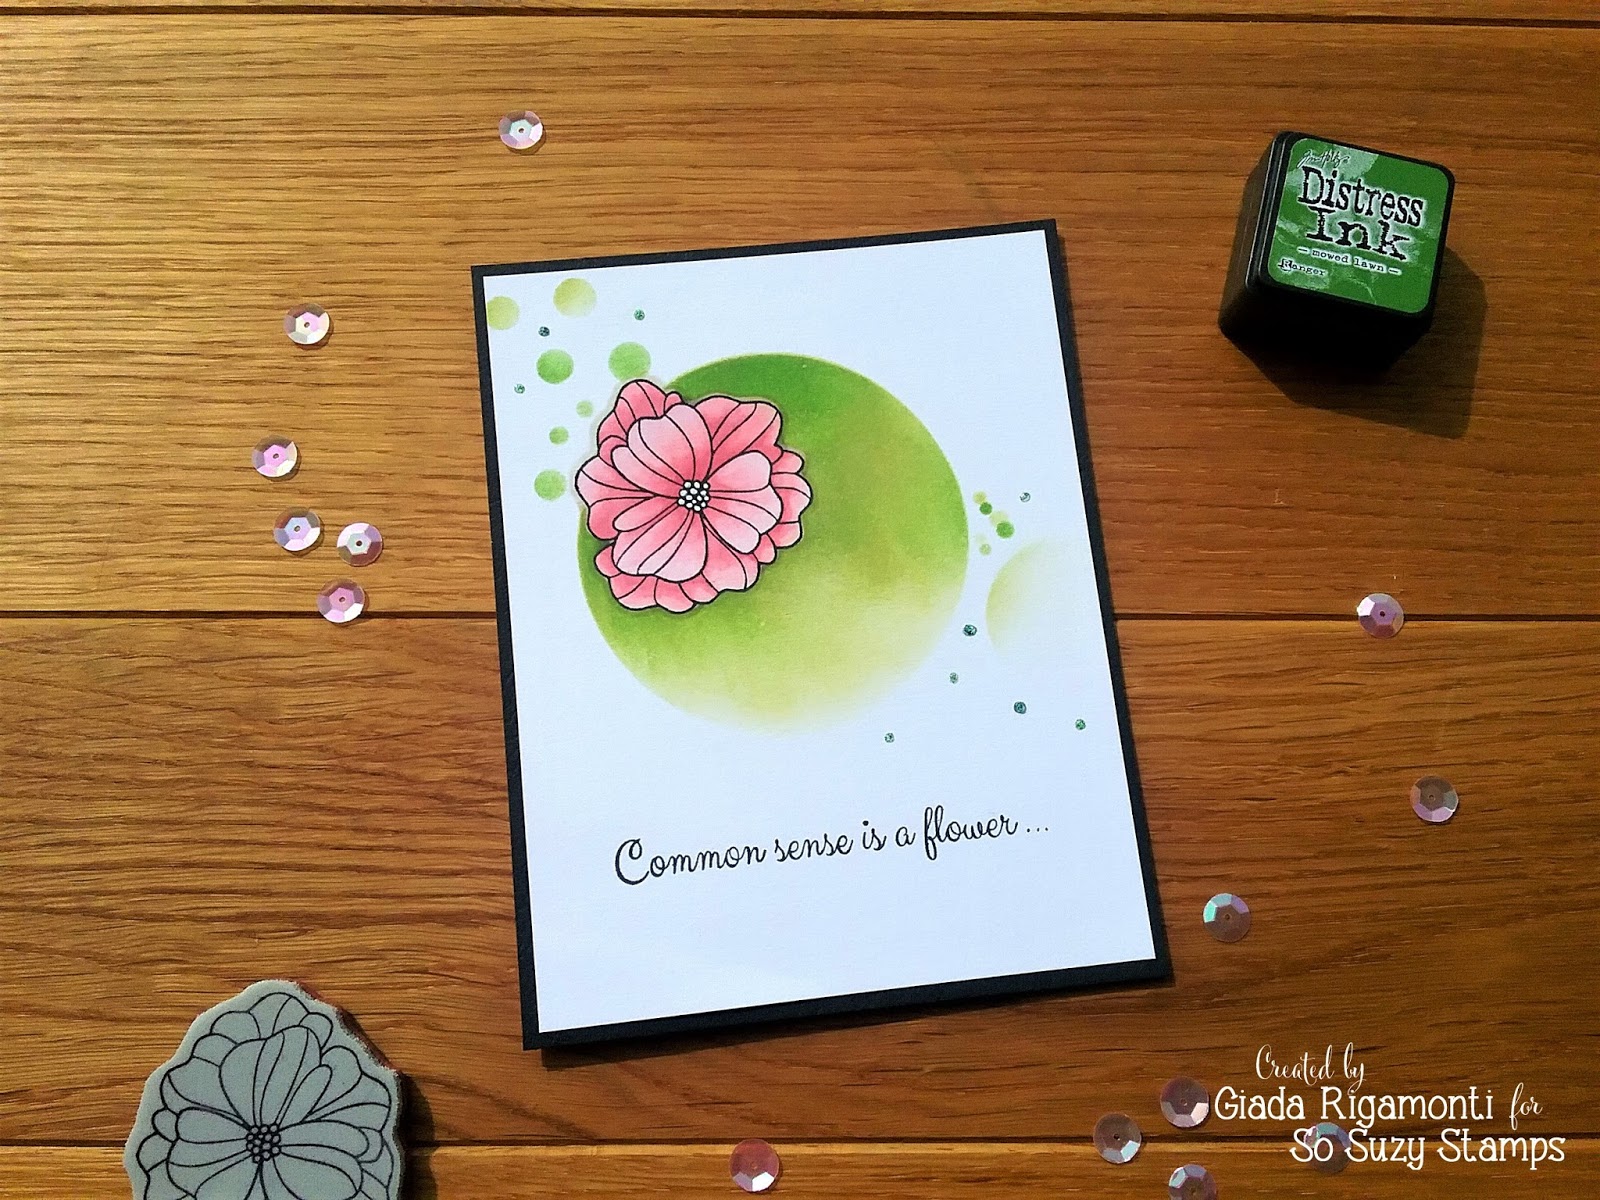
Hello my friends! Here I am with a bunch of romantic tags dedicated to some amazing friends of mine. So Suzy Stamps has new owners, and I want to welcome Vicky and thank Suzy with these handmade tags using So Suzy Stamps supplies only.
I had this Rose Bloom stamp in my stash and I really wanted to use it in order to improve my no-line coloring with watercolors.

Cari amici, oggi vi presento tre romantiche tag che vorrei dedicare a alcune fantastiche amiche. So Suzy Stamps ha dei nuovi proprietari, per cui vorrei dare il benvenuto a Vicky e ringraziare allo stesso tempo Suzanne con queste tag, realizzate utilizzando solo articoli di So Suzy Stamps.
Era da un po' che avevo il timbro Rose Bloom e volevo usarlo per migliorare la mia tecnica di colorazione "no-line" con gli acquerelli.


I cut out a piece of watercolor paper as a tag and I used my MISTI to press down the Rose Bloom stamp with Antique Linen Distress Ink. This is a light shade of color and you will not see it after the coloring!

Ho ritagliato delle tag da un foglio di carta acquerellabile e ho usato il MISTI per timbrare il Rose Bloom con il Distress Ink Antique Linen.


Once it dried, I picked up Antique Linen and Vintage Photo Distress Inks and I used them as watercolors. I also stamped another rose on a piece of scratch paper, so that I could see the petals and the shadows during the coloring process. Then I started to add color, trying to give dimension to each petal.

Una volta asciutto, ho preso i Distress Inks Antique Linen e Vintage Photo e li ho utilizzati come acquerelli. Ho anche timbrato un'altra rosa su un foglio di brutta, così da poter vedere i petali e le ombre durante la colorazione. Poi ho cominciato a colorare, cercando di dare tridimensionalità a ogni petalo.


I did the same thing with the leaves, which I colored in Antique Linen. Then I added some little spots of Vintage Photo just tapping a brush, the sentiment You're Amazing and a bit of twine.

Ho fatto la stessa cosa con le foglie, che ho invece colorato in Antique Linen. Poi ho aggiunto delle piccole macchie di Vintage Photo tamburellando su un pennello intriso di colore, la scritta You're Amazing e un po' di twine.


These are 3 tags I made using the same technique but different shades of Distress Inks (Salty Ocean, Seedless Preserves and Vintage Photo).

Queste sono tre tag che ho realizzato con la stessa tecnica ma con diverse tinte di Distress Inks (Salty Ocean, Seedless Preserves e Vintage Photo).


I really like this technique and this Rose Bloom stamp just makes it easier because the shadows are drawn. A tag is perfect if you want to watercolor something without spending too much time!
Don't forget that we're celebrating as well: FREE shipping (international included) for orders over $25 USD - and some retired stamps will come back every friday!


Mi è davvero piaciuta questa tecnica e questo timbro Rose Bloom la rende molto più semplice, visto che ha le ombre già tracciate. Una tag è perfetta se vuoi acquarellare qualcosa senza spenderci troppo tempo!
Inoltre, fino al 20 aprile, spedizioni gratuite (anche internazionali) per ordini superiori a $25!


Supplies used:

Rose Bloom
You're Amazing


Share
Tweet
Pin
Share
2 commenti

Hi stampers! This time I decided to challenge myself using Snarky stamps from So Suzy Stamps.
I understand that someone could get offended, so I warn you: this card is quite irriverent, dedicated to all those people in our life who are not sensitive or reasonable. Or friends with sense of humour.
First of all, I decided to split the sentiment: the first part onto the front panel, the second one inside.

Ciao creative! Questa volta mi sono superata, sfidandomi ad usare dei timbri "Snarky" di So Suzy Stamps. Capisco che alcune di voi potrebbero sentirsi offese, per cui vi avviso: questa card è abbastanza irriverente, dedicata a tutte quelle persone nella nostra vista che non mostrano sensibilità o ragionevolezza. O ad amici con un ottimo senso dell'umorismo.
Prima di tutto, ho deciso di dividere a metà la scritta: la prima parte sul pannello frontale, la seconda parte all'interno.


I stamped the Line Flower from So Suzy Stamps onto a piece of white cardstock and masked it with a post-it tape. I took the Jo's Bubbles stencil, placed the biggest circle in the center and sponged a bit of Shabby Shutters and Mowed Lawn Distress Inks.

Ho timbrato il timbro Line Flower di So Suzy Stamps su del cartoncino bianco e l'ho mascherato con un post-it. Ho preso lo stencil Jo's Bubbles, ho posizionato il cerchio più grande al centro e ho iniziato a sfumare i Distress Inks Shabby Shutters e Mowed Lawn.


Then I removed the mask and I stamped the first part of the sentiment onto the front panel, adding three dots at the end of the phrase.

Poi ho rimosso la maschera e ho timbrato la prima parte della scritta sul pannello frontale, aggiungendo tre puntini di sospensione alla fine della frase.


Then I coloured the flower with my promarkers, using pink hues. Some little Nuvo Drops as final touches.
And the inside?

Poi ho colorato il fiore con i miei promarkers, usando sfumature di rosa. Un po' di Nuvo Drops come tocco finale.
E l'interno?


I stamped the second part of the sentiment, adding a grass at the bottom using a paper die cut as a stencil.
I'm both sweet and ironic: probably making snarky cards is not "sharing kindness", but it's funny and helps you to cross your comfort zone... you should try!
And So Suzy Stamps has a gorgeous selection of Snarky stamps - with common sense too! -.

Ho timbrato la seconda parte della scritta all'interno, aggiungendo dell'erba nella parte inferiore usando un fustellato di carta come se fosse uno stencil.
Sono una persona sia dolce che ironica: probabilmente fare card irriverenti non è "condividere gentilezza", ma è divertente e aiuta ad uscire dalla propria "comfort zone"... per cui dovreste provare!
E So Suzy Stamps ha una fantastica selezione di timbri "Snarky" - anche con buon senso! -.


Supplies used:
Common Sense


Line Flower

Jo's Bubbles
Share
Tweet
Pin
Share
No commenti


Hello everyone!
This is my last card for So Suzy Stamps this month, using masking technique and heat embossing: I love the tone-on-tone effect and the Fancy Butterfly stamp is just a "must have" in your stash!

Ciao a tutti!
Questa è la mia ultima card per questo mese targata So Suzy Stamps, per la quale ho usato la tecnica del mese - ovvero il masking - e un po' di embossing: adoro l'effetto tono-su-tono e il timbro Fancy Butterfly è semplicemente un "must have"!


First of all, I took a piece of white cardstock and I masked it with a couple of post-it tapes. Then I blended one side of the paper using a bunch of Distress Inks (Cracked Pistachio, Peacock Feathers, Salty Ocean and Seedless Preserves) in order to achieve an ombré look.

Per prima cosa, ho preso del cartoncino bianco e l'ho mascherato usando un paio di post-it. Poi ho iniziato ad aggiungere i Distress Inks su un lato del cartoncino, usando il blending tool per ottenere un effetto ombré (ho utilizzato Cracked Pistachio, Peacock Feathers, Salty Ocean e Seedless Preserves).


When it dries, I stamped the Fancy Butterfly three times with Versamark Ink and heat embossed them with clear embossing powder. Then I sprinkled some water on it, so that I could remove the colour only from the background. The butterflies just pop up a little more!

Un volta asciutto, ho timbrato la Fancy Butterfly per tre volte con del Versamark e le ho embossate con della polvere trasparente. Poi ho spruzzato dell'acqua, così da poter rimuovere il colore solo dallo sfondo. In questo modo le farfalle risaltano ancora di più!


Finally I added the sentiment and some Morning Dew Nuvo Crystal Drops - it dries clear! - all around. I decided to adhere the front panel onto a black cardstock and then on a white card base.

I love how the drops and the butterflies shine in the light!

Quick reminder: the Mirror Image Event is going to finish soon, check out our first post and be sure to hop with us!


Infine ho aggiunto l'augurio e un po' di gocce di Morning Dew Nuvo Crystal Drops - che, una volta asciutte, sono trasparenti! - tutto intorno. Ho deciso di incollare il pannello frontale su del cartoncino nero e poi su una base bianca.

Adoro la trasparenza delle gocce e delle farfalle, soprattutto quando riflettono la luce del sole!

Promemoria veloce: l'evento dedicato al Mirror Image sta per finire, date un'occhiata al primo post e seguite le nostre creazioni!


Supplies used:


Fancy Butterfly


Hugs and Kisses


Morning Dew


Share
Tweet
Pin
Share
8 commenti

Hi ladies! When I saw this fairy from So Suzy Stamps I thought it would be perfect in the moonlight. Since the technique of the month is "masking", I decided to create a nocturnal landscape with a big moon and some Distress blending!

Ciao a tutti! Quando ho visto questa fatina di So Suzy Stamps ho pensato che potesse essere perfetta al chiaro di luna. Visto che la tecnica del mese è "masking", ho deciso di creare un paesaggio notturno con una grande luna e un po' di Distress blending!


First of all, I picked a piece of watercolour paper and I use the circle of the Jo's Bubbles stencil in order to mask off the moon. Then I blended a bunch of Distress Inks, such as: Salty Ocean, Seedless Preserves, Chipped Sapphire and a bit of Mustard Seed all around the circle.

Prima di tutto, ho preso della carta acquarellabile ed ho usato il cerchio presente nella confezione dello stencil Jo's Bubbles per mascherare la luna. Poi ho sfumato con un po' di Distress Inks: Salty Ocean, Seedless Preserves, Chipped Sapphire e un poco di Mustard Seed tutto intorno al cerchio. 


I removed the circle mask and I blended some Mustard Seed inside the moon. Then I cut out the paper to have a A2 size panel.

Ho rimosso la maschera e ho applicato del Mustard Seed dentro il cerchio lunare. Poi ho tagliato il foglio per ottenere un pannello di dimensione A2.


At this point, I grabbed the Fairy, the sentiment and the Blowing Tree from So Suzy Stamps, trying to figure out the scene. Then I stamped all my images with Stazon Jet Black Ink, using the tree as a branch for the fairy.

A questo punto ho preso la fatina, l'augurio e l'albero autunnale di So Suzy Stamps, provando a costruire la scena. Poi ho timbrato tutte le immagini con dello Stazon, ruotando l'albero come se fosse un ramo per la fatina.


At the end I used a bit of Wink of Stella Clear Glitter Pen on the fairy and I added some dots with white gel pen. The card is pretty much finished: I only took a black card base and I glued the panel down.

Infine ho aggiunto del Wink of Stella trasparente sulla fatina e qualche puntino di penna gel bianca tutto intorno al cerchio lunare. La card è praticamente finita: ho scelto del cartoncino nero e ho incollato il pannello alla base.

Did you see that we're hosting the Mirror Image Event, together with The Ton and My Sweet Petunia? Hurry up and check out all the stunning creations using the MISTI tool and the Mirror Image Stamp!

Avete visto il Mirror Image Event, a cui noi di So Suzy Stamps partecipiamo insieme a The Ton e My Sweet Petunia? Se non lo avete ancora fatto, andate a vedere tutte le bellissime creazioni (realizzate con MISTI e Mirror Image Stamp) che per tutto febbraio vi accompagneranno...senza contare i fantastici premi!


Supplies used:

Dancing Fairy

You're Amazing


Jo's Bubbles


Blowing Tree


Share
Tweet
Pin
Share
6 commenti

Hi everyone! Are you ready for some inspiration? Here we are with the new So Suzy Stamps theme and technique of the month:

Ciao a tutti! Siete pronte per nuove ispirazioni? Nuovo mese, nuovo tema - e tecnica - per So Suzy Stamps:


February is the Month of Love, so what about making a card for someone special? I thought about an engagement card, dreamy and glamour at the same time.
Let's see how I create this card... and where is the masking technique.

Febbraio è il mese dell'Amore, per cui non poteva essere altrimenti: una card per qualcuno di speciale. Ho pensato di creare una card di fidanzamento, allo stesso tempo romantica e glamour.
Vediamo come l'ho realizzata...e dove si nasconde la tecnica del masking.


First of all, I picked a piece of watercolor paper and a couple of Distress inks: Scattered Straw and Peacock Feathers. I smushed them down on my craft sheet and I added some water on top. Then I pressed my panel and moved it around. I made it dry and repeated the process until I was satisfied.

Prima di tutto, ho preso un foglio di carta acquarellabile e un paio di Distress inks: Scattered Straw e Peacock Feathers. Li ho premuti sul mio craft sheet e ho aggiunto un po' di acqua. Poi ho premuto il foglio acquarellabile sopra le macchie d'inchiostro e l'ho mosso più volte. L'ho fatto asciugare e ho ripetuto il procedimento finché non sono stata soddisfatta del risultato.


At this point I grabbed my Jo's Bubbles Clarity Stencil and I used it to create my own Bokeh Background. You can create your own masking paper by die cutting a bunch of circles of different sizes, but this stencil was just perfect. I took my white pigment ink pad and I blend it onto the panel, moving the stencil and choosing the best circle time after time.

A questo punto ho preso il mio Clarity Stencil Jo's Bubbles e l'ho usato per creare il mio personale sfondo con "effetto Bokeh". Potete creare anche la vostra maschera personalizzata fustellando un po' di cerchi di diverse dimensioni, ma questo stencil era già perfetto. Ho iniziato a tamponare dell'inchiostro bianco, muovendo lo stencil a piacimento e scegliendo di volta in volta il cerchio da utilizzare.


This is how it turned out: different circles, different sizes, different hues of white.

Questo è il risultato finale: diversi cerchi, diverse grandezze, diverse tonalità di bianco.


I left it aside to dry, then I inked the In Love stamp with some Stazon Jet Black ink and I add a few more circles on top. Then I added the Celebrate sentiment using the same ink.
I glued the front panel onto a piece of white card base and I added some Glitter Nuvo Crystal Drops!

Ho messo da parte il pannello per lasciarlo asciugare, poi ho timbrato la coppia In Love con dello Stazon nero, ho aggiunto altri cerchi bianchi e poi ho timbrato anche l'augurio Celebrate con lo stesso inchiostro. Ho incollato il pannello su del cartoncino bianco ed ho aggiunto un po' di Glitter Nuvo Crystal Drops!


I used some Glitter Honey Gold Nuvo Crystal Drops for the dress and the shoes, while I choose Glitter Aquatic Mist Nuvo Crystal Drops for some tiny dots.

Ho usato del Glitter Honey Gold Nuvo Crystal Drops per il vestito e le scarpe, mentre del Glitter Aquatic Mist Nuvo Crystal Drops per le piccole gocce sullo sfondo.


Did you hear? We're starting an amazing event: during the month of February we're partecipating to the Mirror Image Event, in close collaboration with The Ton Stamps and My Sweet Petunia! 
Oh yeah, the DTs will share card created with the Mirror Image Stamp from So Suzy Stamps as well as the MISTI tool from My Sweet Petunia!
Check out So Suzy Stamps Blog for more details!

Ma... avete sentito la novità? E' cominciato proprio oggi un eventi fighissimo: durante tutto il mese di febbraio parteciperemo al Mirror Image Event, in stretta collaborazione con The Ton Stamps e My Sweet Petunia!
Ebbene sì, i DTs coinvolti condivideranno card create con il Mirror Image Stamp di So Suzy Stamps e il MISTI di My Sweet Petunia!
Fatevi un giretto sul blog di So Suzy Stamps per ulteriori dettagli!


Supplies used:


In Love

Celebrate

Jo's Bubbles

Glitter Aquatic Mist Nuvo Crystal Drops

Glitter Honey Gold Nuvo Crystal Drops


Share
Tweet
Pin
Share
No commenti


Hello guys, here we are for the 1st So Suzy Stamps Blog Hop of the year!
I'm so excited to be in So Suzy Stamps DT for one more term, with many ladies of the old team and new ones as well!


Do you remember the So Suzy Stamps theme of the month? Actually it's really cold outside (no snow here) and this inspired me: white houses in a pale sky. An as I watched the tutorial of Yainea I knew I had to try her slider tag!
This is the "closed" tag:

Buongiorno a tutti! Eccoci al primo Blog Hop dell'anno per So Suzy Stamps!
Sono felicissima di essere stata confermata nel DT di So Suzy Stamps, con molte ragazze del vecchio team e un paio di nuove entrate!
Vi ricordate il tema del mese di So Suzy Stamps? In questo momento fa davvero freddo fuori (malgrado non ci sia neve) e questo clima rigido mi ha ispirato: case bianche in un cielo pallido. Non appena ho visto il tutorial di Yainea ho capito che avrei dovuto provare la sua slider tag!
Questa è la tag ancora "chiusa":


As you can see, if you pull up the ribbon the sentiment will appear both on top and bottom!
Here we are with step-by-step instruction.

Come potete vedere, se si dira il nastro l'augurio compare sia sopra che sotto la tag vera e propria!
Di seguito le istruzioni step-by-step.


First of all, I built up my front scene: I cut a piece of white cardstock and I stamped the beautiful House Border from So Suzy Stamps with versamark ink. In fact I heat embossed it with white embossing powder: as you can see it's not a fine detailed one (on my wish list right now), but I like the final result.
Then I masked the cardstock with a post-it tape in order to blend some Cracked Pistachio Distress Ink and I glued it down onto a piece of aquamarine cardstock.

Prima di tutto, ho costruito la mia scena: ho tagliato un rettangolo di cartoncino bianco e ho stampato il bellissimo House Border di So Suzy Stamps con del Versamark Ink. Infatti l'ho poi embossato con della polvere bianca: come si può vedere si tratta di una polvere "grossolana" che non si cura molto dei dettagli, ma mi piace l'effetto finale. Poi ho mascherato il cartoncino con un paio di post-it così da incorporare un po' di Cracked Pistachio Distress Ink e ho incollato il tutto su del cartoncino aquamarine.


Then I cut 2 other pieces of white cardstock (same size of the front panel), I punched a hole on the first one and I arranged the Fill your heart sentiment so that it would fit with the slider tag. Then I stamped it with some Memento London Fog Ink.

Ho poi tagliato altri due rettangolo di cartoncino bianco della stessa misura del pannello centrale, ho fustellato un buco sul primo e ho sistemato l'augurio Fill your heart in modo da adattarlo alla struttura della slider tag. In seguito l'ho stampato con del Memento London Fog Ink.


At this point I created the structure: a long strip of tri-folded white cardstock (each folded piece has the same size of the front panel as well). The last one is cut out in order to have a rectangle with a folded plastic around. This is where the sentiments will slide!

A questo punto mi sono dedicata alla struttura: una lunga striscia di cartoncino bianco piegato più volte (ad ogni piega corrisponde un pezzetto della stessa dimensione del pannello principale). L'ultima parte è stata tagliata così da ottenere un rettangolo intorno a cui avvolgere della plastica piegata (io ho usato quella delle bustine trasparenti). Questo è il punto in cui usciranno le scritte!


Finally I glued down the 3 pieces of cardstock: the sentiments (one on the front of the plastic, the other on the back side) and the front panel. I added a white ribbon and closed the door with a piece of tape.

Infine ho incollato i 3 cartoncini: i due auguri (uno sulla parte anteriore della plastica, l'altro sulla parte posteriore) e il pannello centrale. Ho aggiunto del nastro bianco e ho chiuso il tutto con del nastro biadesivo.


This is the final result! As you can see the final touch was the vellum snowflakes on top of the sky with a bit of Aquamarine Nuvo Drops:

Questo è il risultato finale! Come potete vedere ho aggiunto un ultimo tocco grazie a dei fiocchi di neve in vellum con un po' di Nuvo Drops Aquamarine:


Hop with us in order to win a $25 Gift Certificate to shop with So Suzy: all you have to do is leave a comment on this blog post! You have until January 14th. The winner will be announced on So Suzy Stamps Blog on January 17th. 

This is the full list of all the creations made by So Suzy Stamps DT ladies:

Suzy
Martha
Cornelia
Olesya
Terri
Giada
Henriette
Nupur
Josefine

Before saying goodbye, I have some So Suzy Stamps shipping informations for you due to Creativation:


Supplies used:
House Border

Fill Your Heart

Glitter Aquatic Mist Nuvo Crystal Drops


Share
Tweet
Pin
Share
49 commenti
Older Posts

About me

About me
I'm Giada, an italian cardmaker. I love clean and simple cards...and coloring critters! Thank for being here!

Follow Me

  • Facebook
  • Instagram
  • Youtube

Contact me

Nome

Email *

Messaggio *

Blog Archive

  • ▼  2023 (3)
    • ▼  nov 2023 (1)
      • Winter Friends
    • ►  giu 2023 (1)
    • ►  feb 2023 (1)
  • ►  2022 (14)
    • ►  ott 2022 (1)
    • ►  ago 2022 (1)
    • ►  lug 2022 (2)
    • ►  giu 2022 (1)
    • ►  mag 2022 (1)
    • ►  apr 2022 (1)
    • ►  mar 2022 (3)
    • ►  feb 2022 (1)
    • ►  gen 2022 (3)
  • ►  2021 (27)
    • ►  dic 2021 (1)
    • ►  nov 2021 (1)
    • ►  ott 2021 (2)
    • ►  set 2021 (2)
    • ►  ago 2021 (3)
    • ►  lug 2021 (2)
    • ►  giu 2021 (1)
    • ►  mag 2021 (2)
    • ►  apr 2021 (2)
    • ►  mar 2021 (2)
    • ►  feb 2021 (5)
    • ►  gen 2021 (4)
  • ►  2020 (72)
    • ►  dic 2020 (2)
    • ►  nov 2020 (2)
    • ►  ott 2020 (4)
    • ►  set 2020 (8)
    • ►  ago 2020 (4)
    • ►  lug 2020 (7)
    • ►  giu 2020 (8)
    • ►  mag 2020 (5)
    • ►  apr 2020 (12)
    • ►  mar 2020 (7)
    • ►  feb 2020 (7)
    • ►  gen 2020 (6)
  • ►  2019 (68)
    • ►  dic 2019 (6)
    • ►  nov 2019 (8)
    • ►  ott 2019 (9)
    • ►  set 2019 (9)
    • ►  ago 2019 (8)
    • ►  lug 2019 (8)
    • ►  giu 2019 (3)
    • ►  mag 2019 (4)
    • ►  apr 2019 (2)
    • ►  mar 2019 (3)
    • ►  feb 2019 (4)
    • ►  gen 2019 (4)
  • ►  2018 (59)
    • ►  dic 2018 (2)
    • ►  nov 2018 (7)
    • ►  ott 2018 (7)
    • ►  set 2018 (7)
    • ►  ago 2018 (7)
    • ►  lug 2018 (6)
    • ►  giu 2018 (4)
    • ►  mag 2018 (4)
    • ►  apr 2018 (4)
    • ►  mar 2018 (4)
    • ►  feb 2018 (3)
    • ►  gen 2018 (4)
  • ►  2017 (45)
    • ►  nov 2017 (6)
    • ►  ott 2017 (3)
    • ►  set 2017 (5)
    • ►  ago 2017 (3)
    • ►  lug 2017 (3)
    • ►  giu 2017 (3)
    • ►  mag 2017 (3)
    • ►  apr 2017 (5)
    • ►  mar 2017 (3)
    • ►  feb 2017 (6)
    • ►  gen 2017 (5)
  • ►  2016 (32)
    • ►  dic 2016 (1)
    • ►  nov 2016 (6)
    • ►  ott 2016 (3)
    • ►  set 2016 (3)
    • ►  ago 2016 (3)
    • ►  lug 2016 (4)
    • ►  giu 2016 (4)
    • ►  mag 2016 (2)
    • ►  apr 2016 (1)
    • ►  mar 2016 (2)
    • ►  feb 2016 (2)
    • ►  gen 2016 (1)
  • ►  2015 (21)
    • ►  dic 2015 (1)
    • ►  nov 2015 (2)
    • ►  set 2015 (1)
    • ►  ago 2015 (2)
    • ►  lug 2015 (1)
    • ►  mag 2015 (1)
    • ►  apr 2015 (2)
    • ►  mar 2015 (4)
    • ►  feb 2015 (4)
    • ►  gen 2015 (3)
  • ►  2014 (31)
    • ►  dic 2014 (2)
    • ►  nov 2014 (2)
    • ►  ott 2014 (2)
    • ►  set 2014 (4)
    • ►  ago 2014 (1)
    • ►  lug 2014 (3)
    • ►  giu 2014 (3)
    • ►  mag 2014 (3)
    • ►  apr 2014 (2)
    • ►  mar 2014 (3)
    • ►  feb 2014 (3)
    • ►  gen 2014 (3)
  • ►  2013 (33)
    • ►  dic 2013 (4)
    • ►  nov 2013 (5)
    • ►  ott 2013 (4)
    • ►  set 2013 (3)
    • ►  ago 2013 (4)
    • ►  lug 2013 (5)
    • ►  giu 2013 (8)

Search

Labels

  • crackerbox & suzy stamps
  • craftin desert divas
  • create a smile stamps
  • lawnfawn
  • mft stamps
  • rinea foiled paper
  • so suzy stamps
  • someoddgirl
  • whimsy stamps
  • wplus9

Created with by BeautyTemplates